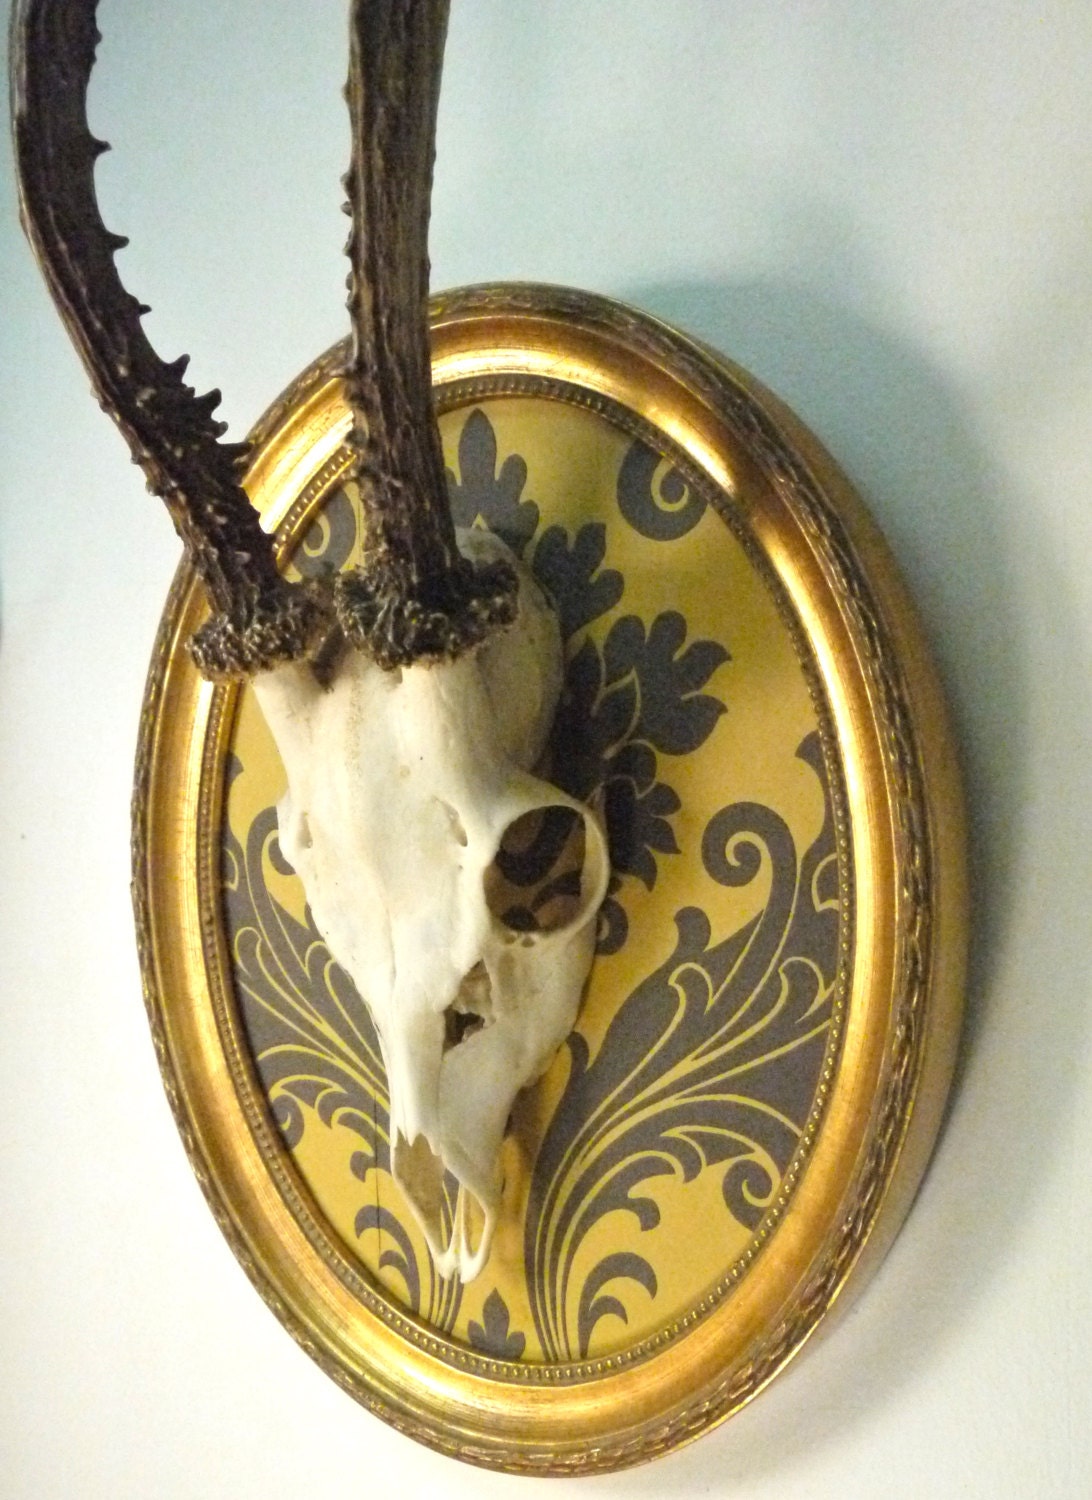
Darling Darcy followers and readers...this DIY is not for the faint of heart, nor is it a usual post on a fashion blog that incorporates fashion "DIY's...." However, I would like to start with a few brief disclaimers. First, no animal was killed or hurt during this DIY or in order to achieve this DIY. Second, my wonderful boyfriend, being the outdoorsman I love, came across this deer skull in the woods during deer season. He FOUND the remains of this deer, he did not kill it! So that being said I am so! so! so! excited to share this DIY with you!
I present the "DIY Bleached Deer Skull"
What you'll need:
1. 1 Deer skull
2. 2-quarts hydrogen peroxide
3. 1 x-large pot
4. Old tooth brush
5. Water
Step 1: Find deer skull/acquire
(You can also do this with any type of animal skull, or even sea shells
you find washed up on the beach!)
Step 2: Take your large pot and fill with water, enough to
cover the deer skull, not the antlers. Bring to a boil.
Step 3: Allow the deer skull to boil for one hour, rotating
(if pot is too small to emerge head) every 20 minutes.
Step 4: Remove deer skull from water. Take your tooth brush
and scrub any areas where dirt is still lodged.
Brush-a, brush-a, brush-a!
Step 5: Bring half water, and the 2 quarts of water to a low boil. Don't want a roaring boil!
(The teeth will be sensitive at this point so making sure of a
low boil will be more gentle to the teeth)
Step 6: Boil skull in the peroxide/water mixture for approximately 1 hour.
If you need to rotate skull, due to a smaller pot, rotate regularly so both sides of
skull are submerged for at least 30 minutes.
Step 7: For any spots not completely white, take your toothbrush again
and brush skull with peroxide, leave on and allow to sit in the sun for drying and natural bleaching.
Isn't he cute ;)
Now deer horns and skulls are so popular with interior styling lately, and it's the perfect way to add a dramatic or rustic touch to a living room or to place as a centerpiece over a mantle. Check out my inspiration below!
And tell me...are you a fan of the deer skull? I think it's such a powerful room piece, give me your thoughts and comments!


