DIY to try:: Nesting Project 2

posted on: Friday, October 18, 2013

with my move to atlanta i have been trying to think of economical ways to continue to use what i have but make it into decor that fits what i imagine my apartment to look like... i'm calling this constant need to refresh, and reinvent the space i have: "nesting." i know that slowly, but surely i'll whip this little space into shape. on a day off i decided to go ahead and hang frames where i want them to go... i left the pictures in their frame which resulted in a few lopsided pics, and a few frames that were in dire need of some TLC. 


pretty pathetic looking right?? the frames were purchased ages ago from walmart or target, 
and so i decided to give them a refresh by adding a coat of spray paint. for this project i used:: 
old frames
silver and gold spray paint
painters tape
painters sheet

1. disassemble the frames, keeping glass away from the spray paint area. (we don't want any pesky residue on the glass!)


2. lay frames on a plastic painters sheet, hold spray paint about 1-2 feet away and spray until there is a thin layer of paint on the frames. 


3. allow this to dry approximately 15 minutes then go and spray another thin layer.

4. allow paint to dry overnight

5. continue this same process the next day, and paint the other side! again, allow to dry overnight.


6. the next morning reassemble the frames and voila! you have 4 old frames that look brand spankin' new! 
(this was the point i decided i didn't like the gold and went back to paint the other frames silver...this is also the point where i went back and spray painted the inner lining of the thicker framed frame, que painters tape.)


all in all i made this project take entirely too long... and then it took even longer because i bought this cute new thing from etsy to incorporate as the center piece, and then new pictures that i had to wait to get developed... but i'm happy with it now, and here is my final result::


a little moment on my night stand with my white pumpkins :))
have a great weekend! and i hope you try your own DIY 

xo, 
     A

center piece from etsy shop called 13 pumpkins

Nesting Project 1:: a pinch and a punch for the first of the month

posted on: Tuesday, October 1, 2013

happy october everyone! to me october is truly the start of fall, the chill in the morning air has become consistent and the colors of the leaves are starting to change. this chill lets us know that cooler weather is coming to stay. as a treat for myself to get into the fall mood i decided to create a little front porch magic, or in my case, the porch i share with three other apartments on my floor....so i guess i have a landing of sorts. i assembled a few fall essentials and got creative with my little corner of the 1st floor.

what you'll need:
pumpkins (i like a varying size assortment to add depth and dimension to the grouping)
spray paint (i chose silver and gold, the metallic adds a bit of glam to the organic material)
painters tape
scotch desk tape
circle stickers
a damp cloth
a letter outline (if you love the A i found, i just google'd it!)

i started out by using a damp cloth to wipe the pumpkins clean before the painting process, 
always good to start with a clean slate!

next i wanted to keep the pumpkin's stem's their natural color so i used painters
 tape to cover the stem and the pretty green roots

next i took the circular stickers and applied them to the small pumpkins, not bothering to apply to the bottom...simply because you won't see it! then, when applying the letter A, i simply rolled tape to make it double sided and applied rigorously to the entire area. i didn't want the spray paint to have too many chances to drip down blurring the edges of my pretty A

when finally painting the pumpkins i alternated, painting 2 pumpkins silver, and 2 pumpkins gold

for the larger pumpkin i started from the back and worked my way forward (when spray painting over something to get the outline, ie my letter A, be sure to chose the smooth, pretty side of the pumpkin so that the outline is not distorted.)

the key to spray painting the letter was to spray directly in front of the paper to prevent any 
angled mist from the paint to come between the letter and the pumpkin -- 
allow the pumpkins to dry overnight so set the color. 

in the morning head back outside, remove your circles and the outline you've chosen for the larger pumpkin and voila! you have yourself a beautiful fall nook :)) 


happy fall y'all 
xo, 
        A

DIY Bleached Deer Skull

posted on: Saturday, March 9, 2013

Darling Darcy followers and readers...this DIY is not for the faint of heart, nor is it a usual post on a fashion blog that incorporates fashion "DIY's...." However, I would like to start with a few brief disclaimers.  First, no animal was killed or hurt during this DIY or in order to achieve this DIY. Second, my wonderful boyfriend, being the outdoorsman I love, came across this deer skull in the woods during deer season. He FOUND the remains of this deer, he did not kill it! So that being said I am so! so! so! excited to share this DIY with you!
I present the "DIY Bleached Deer Skull"

What you'll need:
1. 1 Deer skull
2. 2-quarts hydrogen peroxide
3. 1 x-large pot 
4. Old tooth brush
5. Water


Step 1: Find deer skull/acquire 
(You can also do this with any type of animal skull, or even sea shells 
you find washed up on the beach!)

 
Step 2: Take your large pot and fill with water, enough to
cover the deer skull, not the antlers. Bring to a boil. 
 
Step 3: Allow the deer skull to boil for one hour, rotating
(if pot is too small to emerge head) every 20 minutes.


 Step 4: Remove deer skull from water. Take your tooth brush
 and scrub any areas where dirt is still lodged.

Brush-a, brush-a, brush-a!

 
Step 5: Bring half water, and the 2 quarts of water to a low boil. Don't want a roaring boil!
(The teeth will be sensitive at this point so making sure of a
low boil will be more gentle to the teeth)
 
 
Step 6: Boil skull in the peroxide/water mixture for approximately 1 hour.
If you need to rotate skull, due to a smaller pot, rotate regularly so both sides of
skull are submerged for at least 30 minutes.
 
 
Step 7: For any spots not completely white, take your toothbrush again
and brush skull with peroxide, leave on and allow to sit in the sun for drying and natural bleaching.
 

Isn't he cute ;)
 
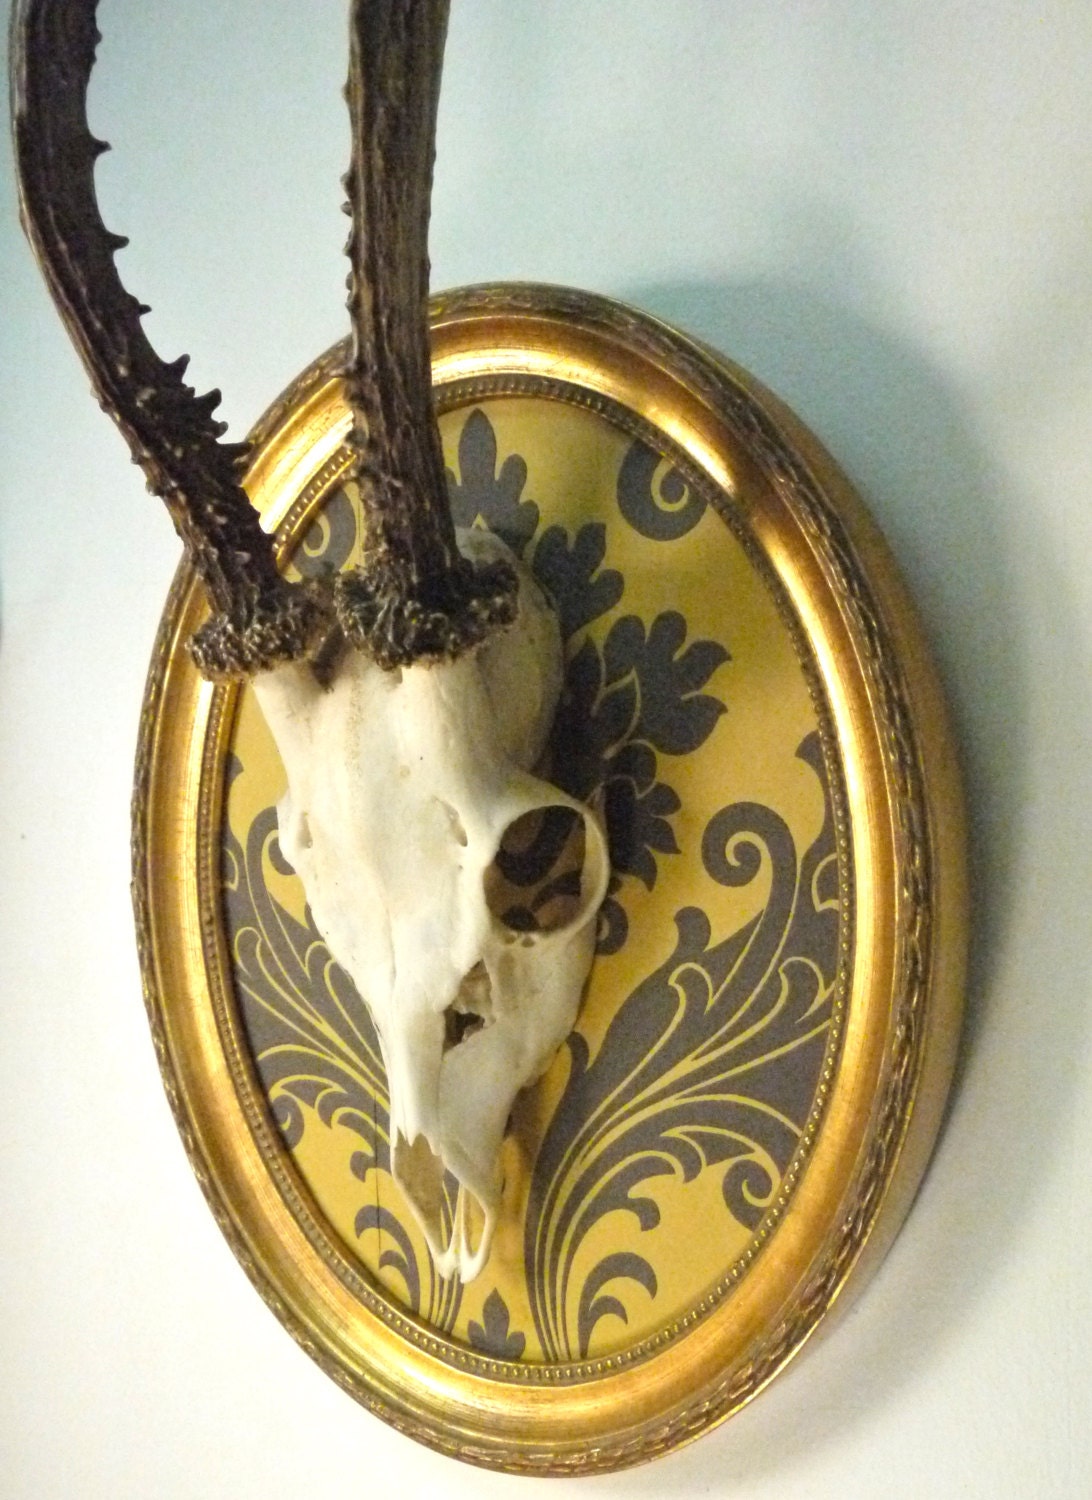
Now deer horns and skulls are so popular with interior styling lately, and it's the perfect way to add a dramatic or rustic touch to a living room or to place as a centerpiece over a mantle. Check out my inspiration below!
And tell me...are you a fan of the deer skull? I think it's such a powerful room piece, give me your thoughts and comments!


Scarf Challenge:: DIY T-Shirt Scarf

posted on: Tuesday, October 30, 2012

Hi everyone! I hope the weekend treated you all well...
UGA was lucky enough to beat Florida and it was such a joy to be there for the win!
Sorry Gator fans :))

To celebrate, and transition from the weekend, I decided to show you all a fun DIY
to lead us into the Fall and Winter months!

In honor of my Scarf Challenge I decided to jump on the band wagon and try out a T-shirt Scarf! This was such a simple DIY, and a fun, rewarding project to do! It will only take you 10-15 minutes! Wow!

You will need:
1. An over-sized t-shirt
2. Scissors
3. Yarn (that blends in/matches your shirt, this step is optional)
4. Beads (part of optional step)


Step 1: 
You will want to cut long ways across the shirt, right under the armpits.
No worries if it's not perfectly straight!
Toss the top half of the shirt, it won't be needed for the scarf!


Step 2:
Next, take the portion of the shirt that you cut off and start cutting strips lengthwise, across the shirt.
For this step, you will cut approximately 1/2 inch strips until the entire shirt is cut into strips.
However, do not cut all the way across the shirt. Leave an inch of space, you will need the strips to stay together at the end for gathering later.


Cut all the way up the shirt until you reach the bottom hem. Save the hem for later. 


Step 3:
Next, while holding the end that is still intact, pull on the strips to make them longer. By pulling the strips, you  also create a twisted look that adds to the detailing of the finished scarf.


Step 4: 
Gather the fabric at the area where you kept the strips in tact.


Once gathered, make sure that all of the strips are approximately the same length so that the loop will look even.


Step 5:
Now take the hem that you saved from earlier and cut it so that it makes one long strip of fabric


As an option for this step you can braid the hem piece by cutting it into 3 strips.
I braided it and I love the feminine touch!


Step 6:
Taking the hem piece, wrap it around the gathered area of your scarf. Wrap it multiple times, finally tying, and knotting the end so that it will stay securely.


Step 7:
This is another optional detail for the scarf, but for this step you can take any type of beading and add it for a  touch of sparkle! I chose to use some black beads, and jumble them in the area around the knot for a couple security stitches.


Using matching thread, stitch the beads into the scarf, 
tying a knot at the end of your stitching for added security.


Step 8:
You're finished! Once all the stitches have been stitched, and the scarf is styled to your liking you are done!
This scarf is so simple I want everyone to make one today!


If you have any questions about procedures, or want to share a DIY scarf idea with me let me know!
I love hearing from you all, and thank you for your support!


xo always
Alyssa

Photos by Katie Coon

Darcy All rights reserved. Theme by © Blog Milk . Developed by MA Creative.